How to create an event
Creating an event runs a short six-step wizard. Only the first step is required, everything else can be skipped and finished later. Manager task.
- Click + Event in the top bar. It’s there from any page.
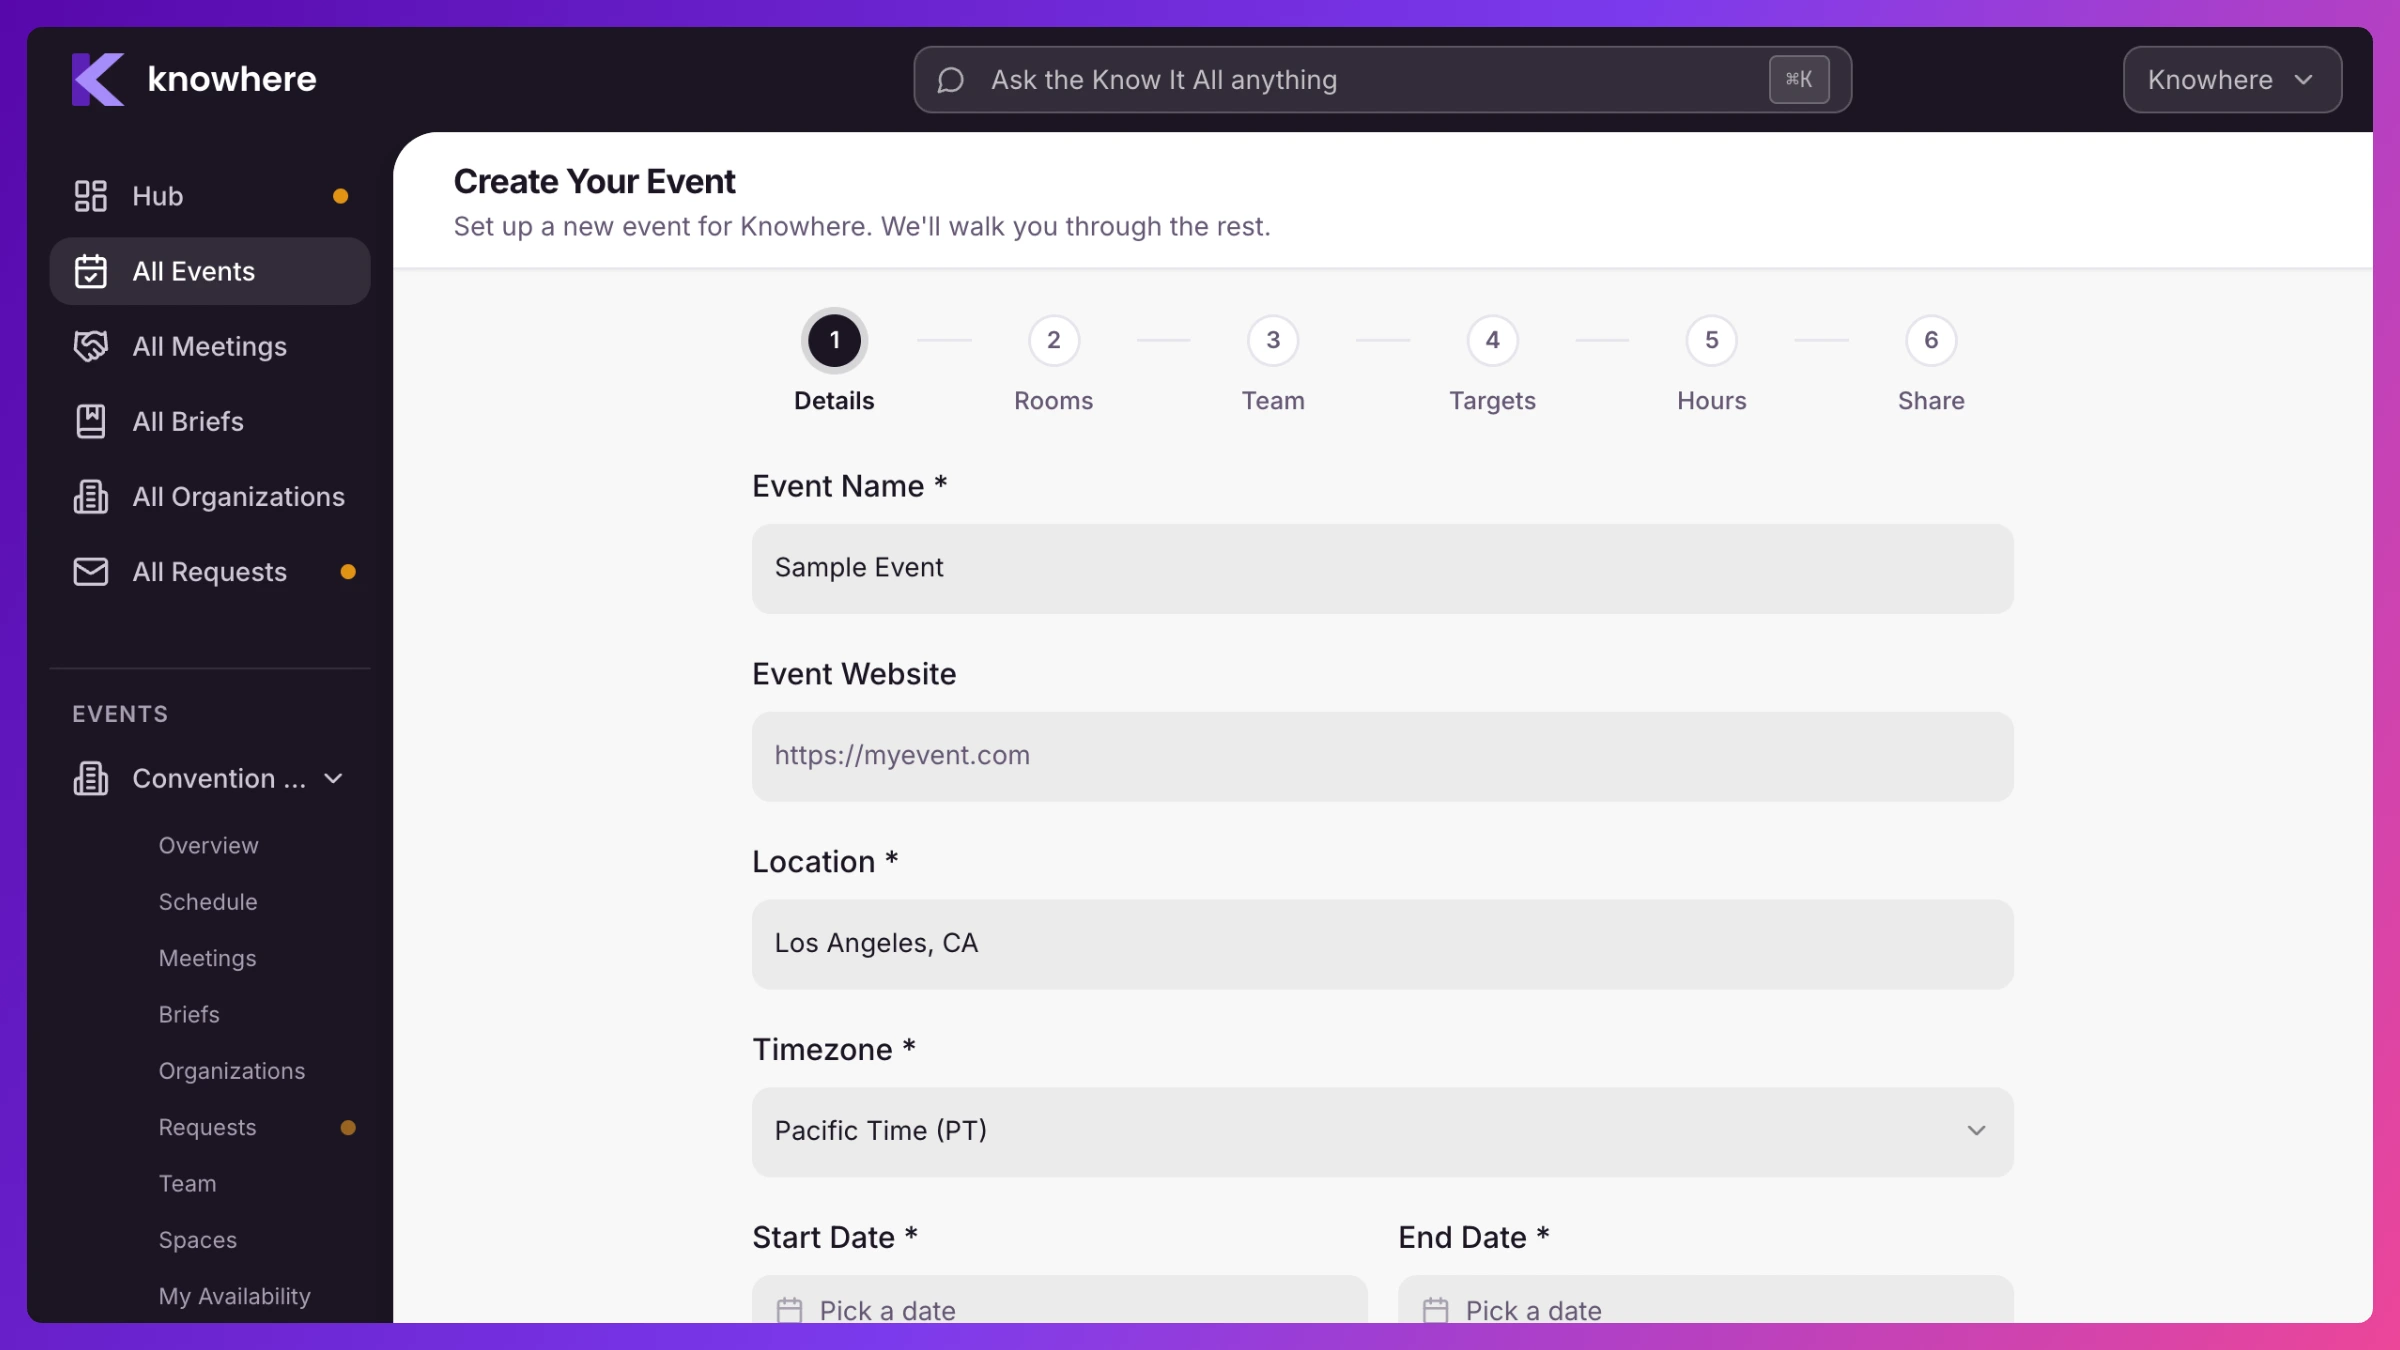
- Details. Fill in Event Name, Location, Timezone (pre-filled from your browser), and Start Date and End Date. Event Website is optional. Click Continue. (Details is the one required step, the button stays disabled until the required fields are filled.)
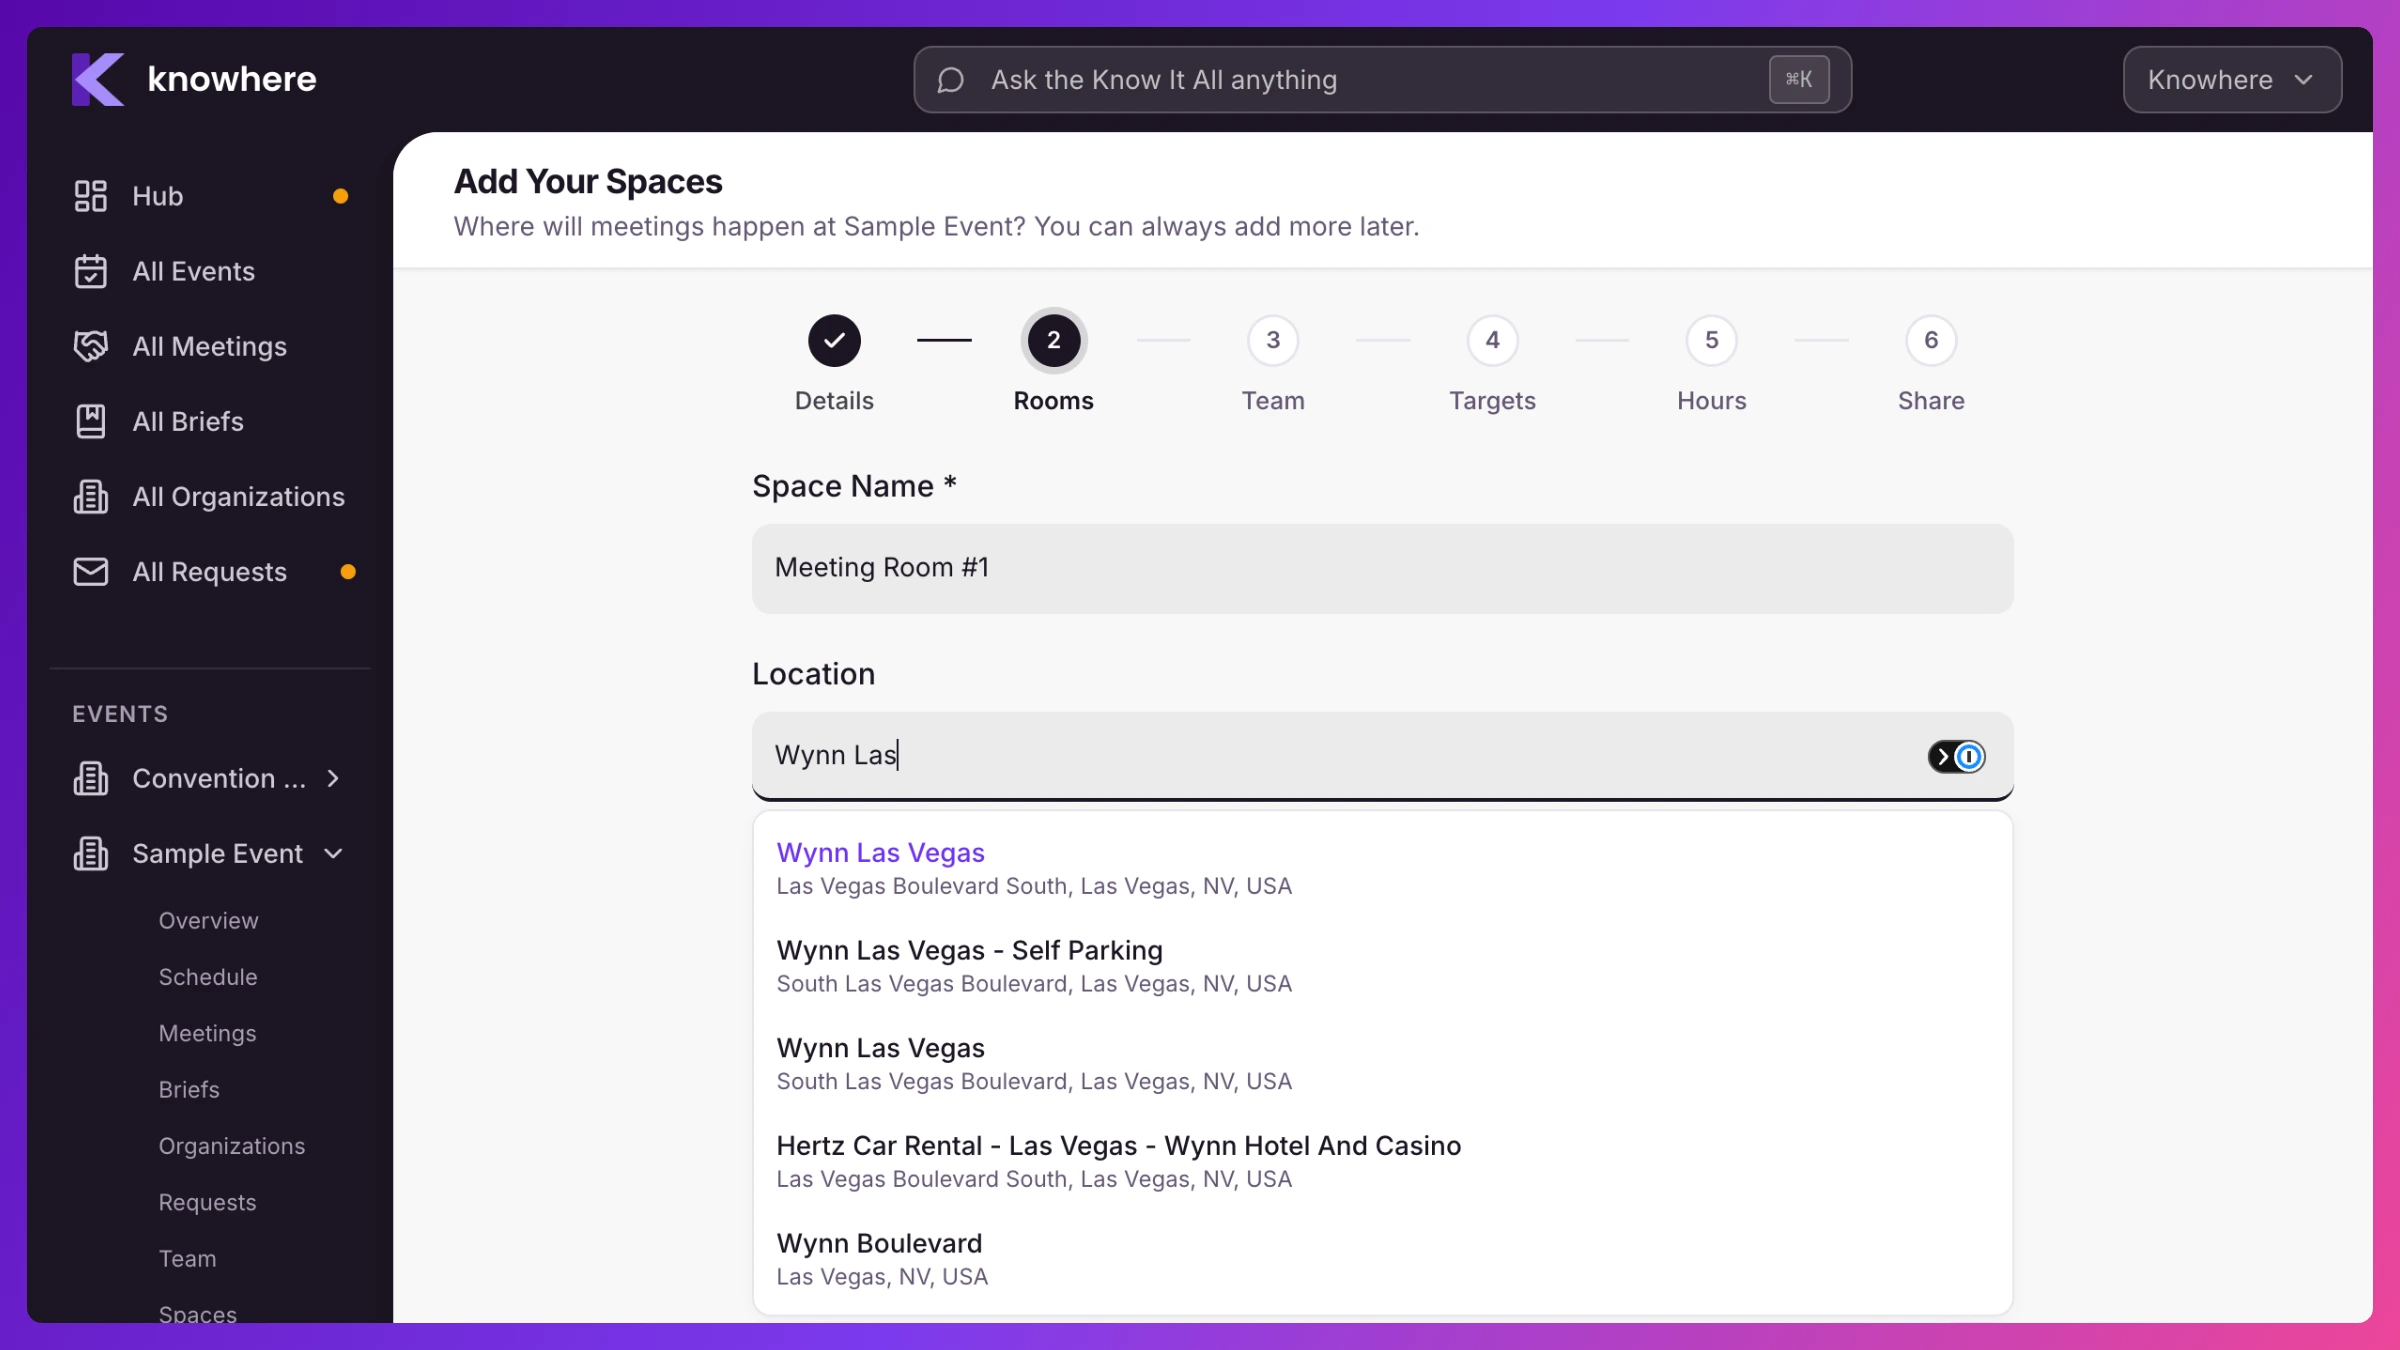
- Spaces. Add each meeting Space. Enter a Space Name, and optionally Location, Location Details (like “Suite 3200”), Capacity, and a Color. For booth demos, turn on Bookable demo station and add a Demo topic and Slot length. Click Add Space for each, then Continue. You can also skip this and add Spaces later.
- Team. Staff the event. Use Add from team to pick existing members, or Invite new to email someone who isn’t in Knowhere yet. Click Continue.
- Targets. Pick this event’s targets. Your company targets come pre-checked, adjust the list, then Continue.
- Hours. Set the daily start and end times so meetings only book while your team is on site. Use Advanced for per-day hours. Click Continue.
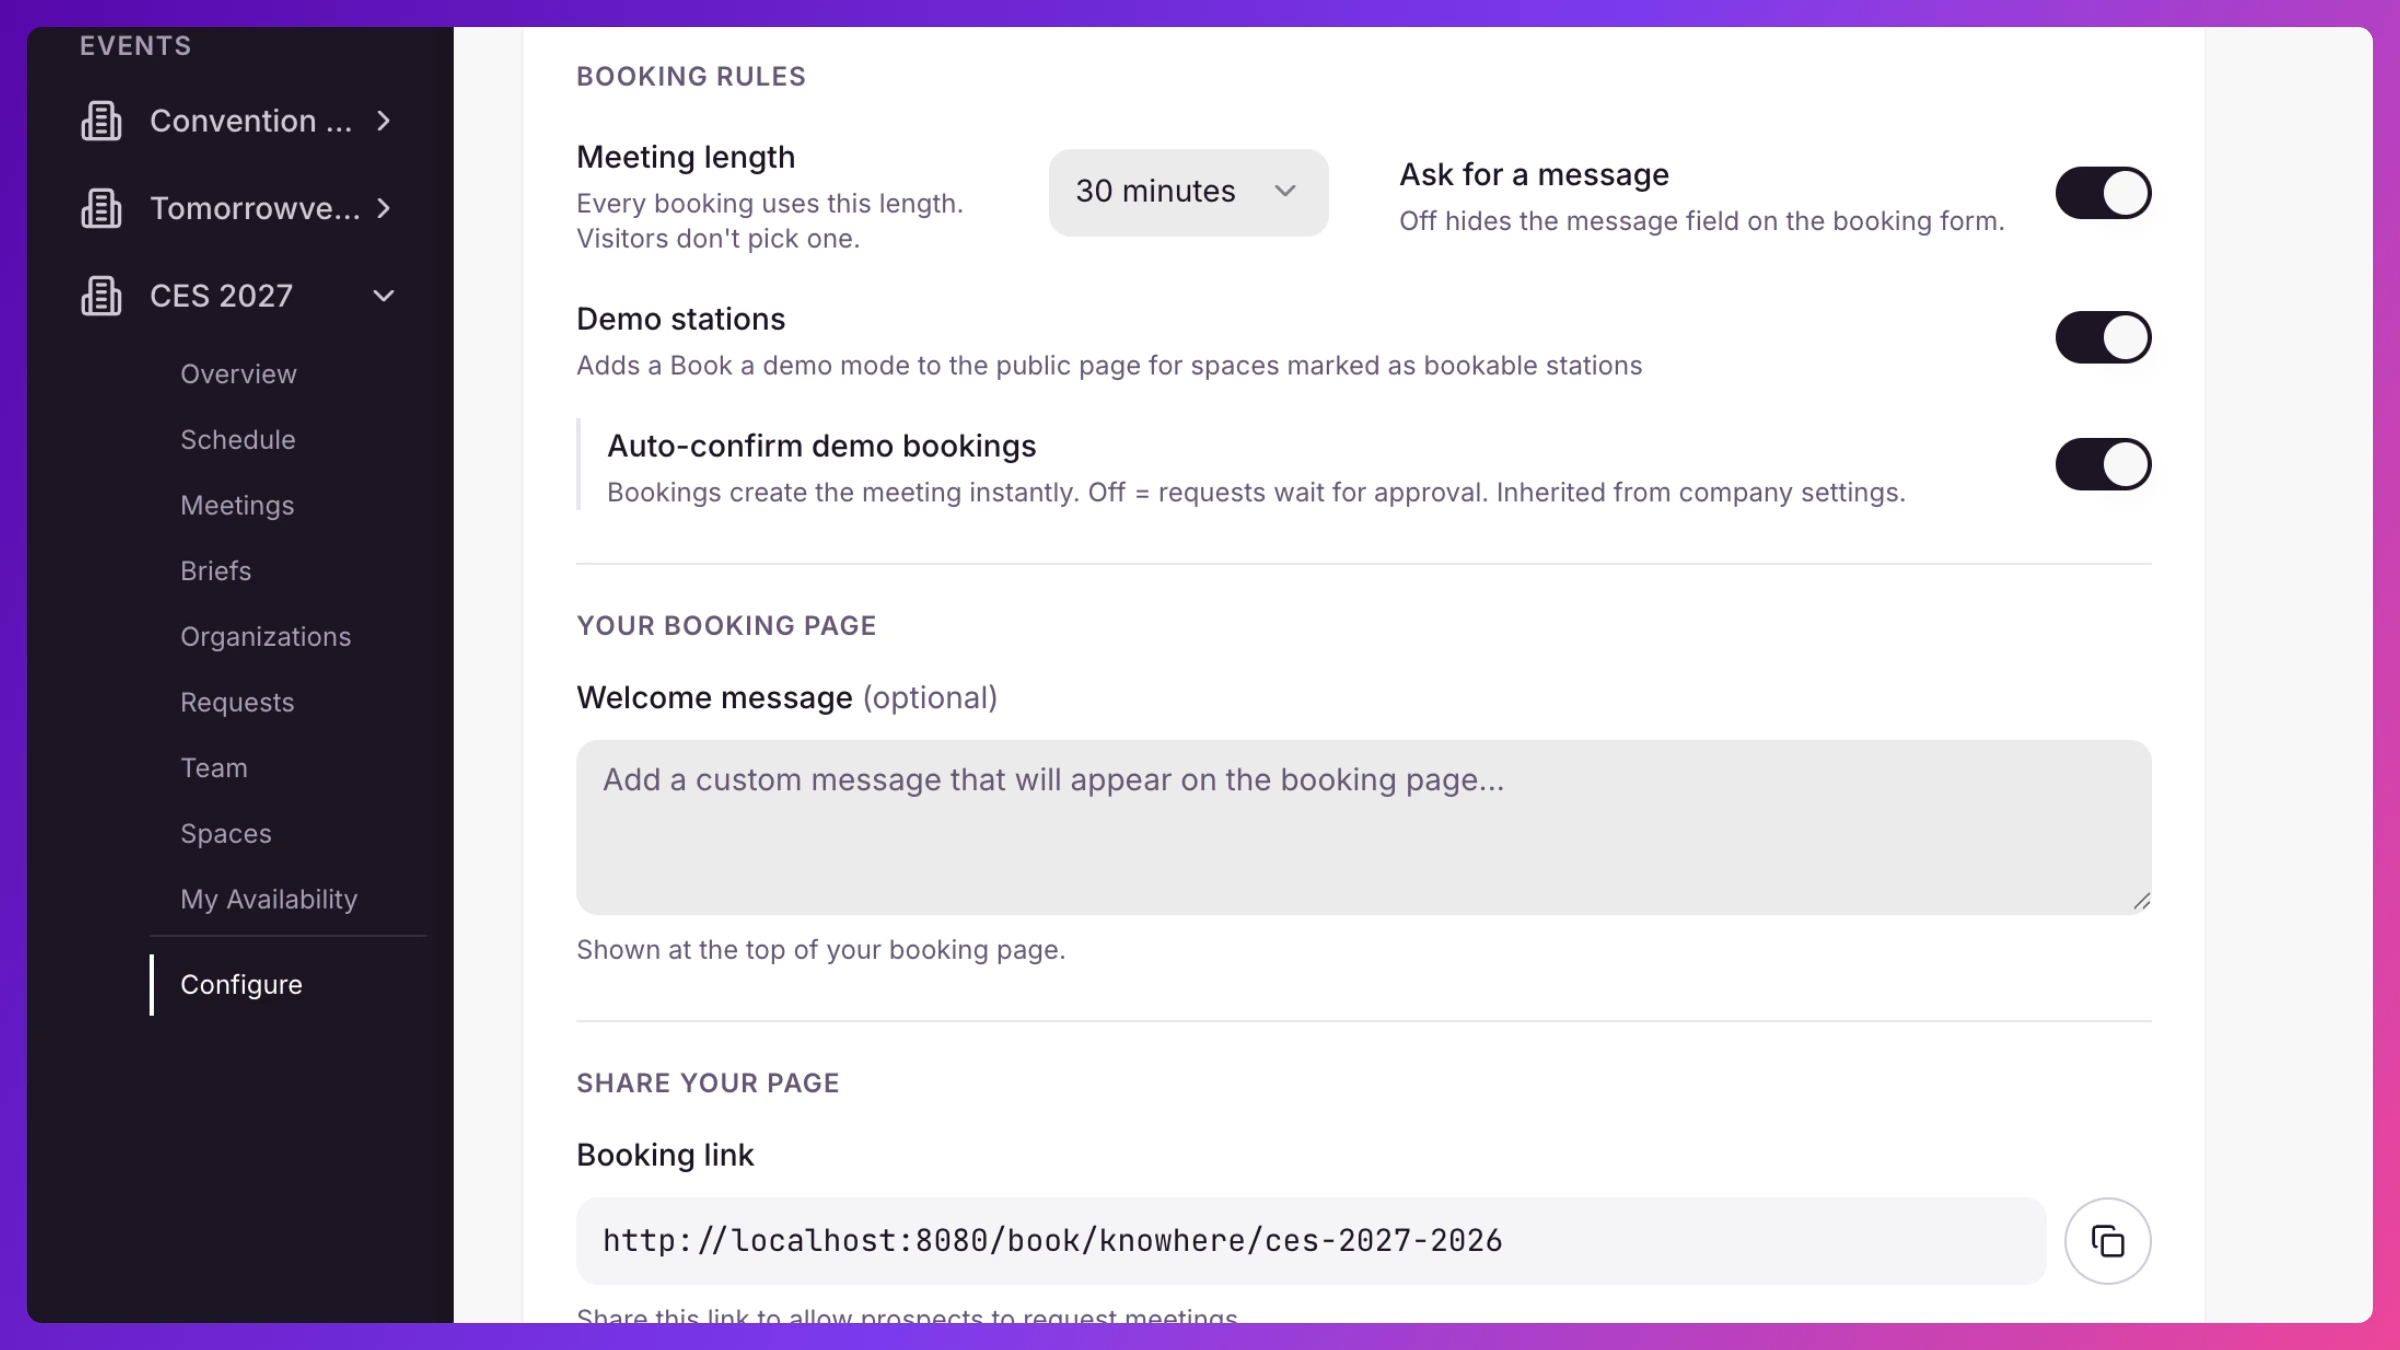
- Share. Turn on public booking to get a shareable link, plus the Demo stations and Auto-confirm demo bookings toggles if you set up stations. Click Finish to land on the event’s Settings page.
What’s next
Section titled “What’s next”Your event now appears under Events in your profile menu, and in the show picker in the top bar. Pick it there and every page follows it. To change anything later, open the event’s Settings from Events. See Before the show for the full pre-event checklist.