Requests & public booking
Requests are how the outside world gets onto your schedule. Customers ask for time through your public booking pages or the on-site kiosk. Managers approve or decline. Approved requests become meetings. Nothing lands on the calendar without your say-so. The one exception is opt-in. Demo-station bookings can confirm instantly if you turn that on (see below).
Public booking pages
Section titled “Public booking pages”Who it’s for: your customers and prospects. No login, no account.
Two flavors, both switchable per event:
- The event booking page: a branded page for the whole event: your logo, the event’s dates and location, and an optional welcome message you control. Visitors enter their contact details, pick a preferred date and time from the slots you’ve made available, add alternate times, and send the request.
- Personal booking pages: every team member gets their own link, scoped to their availability at the event. Perfect for pre-event outreach: drop it in an email signature or a LinkedIn message and let prospects ask for time with that specific team member.
Both links are generated in the event’s Settings under Booking & check-in, along with an embeddable widget you can place directly on your own website. Public submissions are protected against bots and abuse.
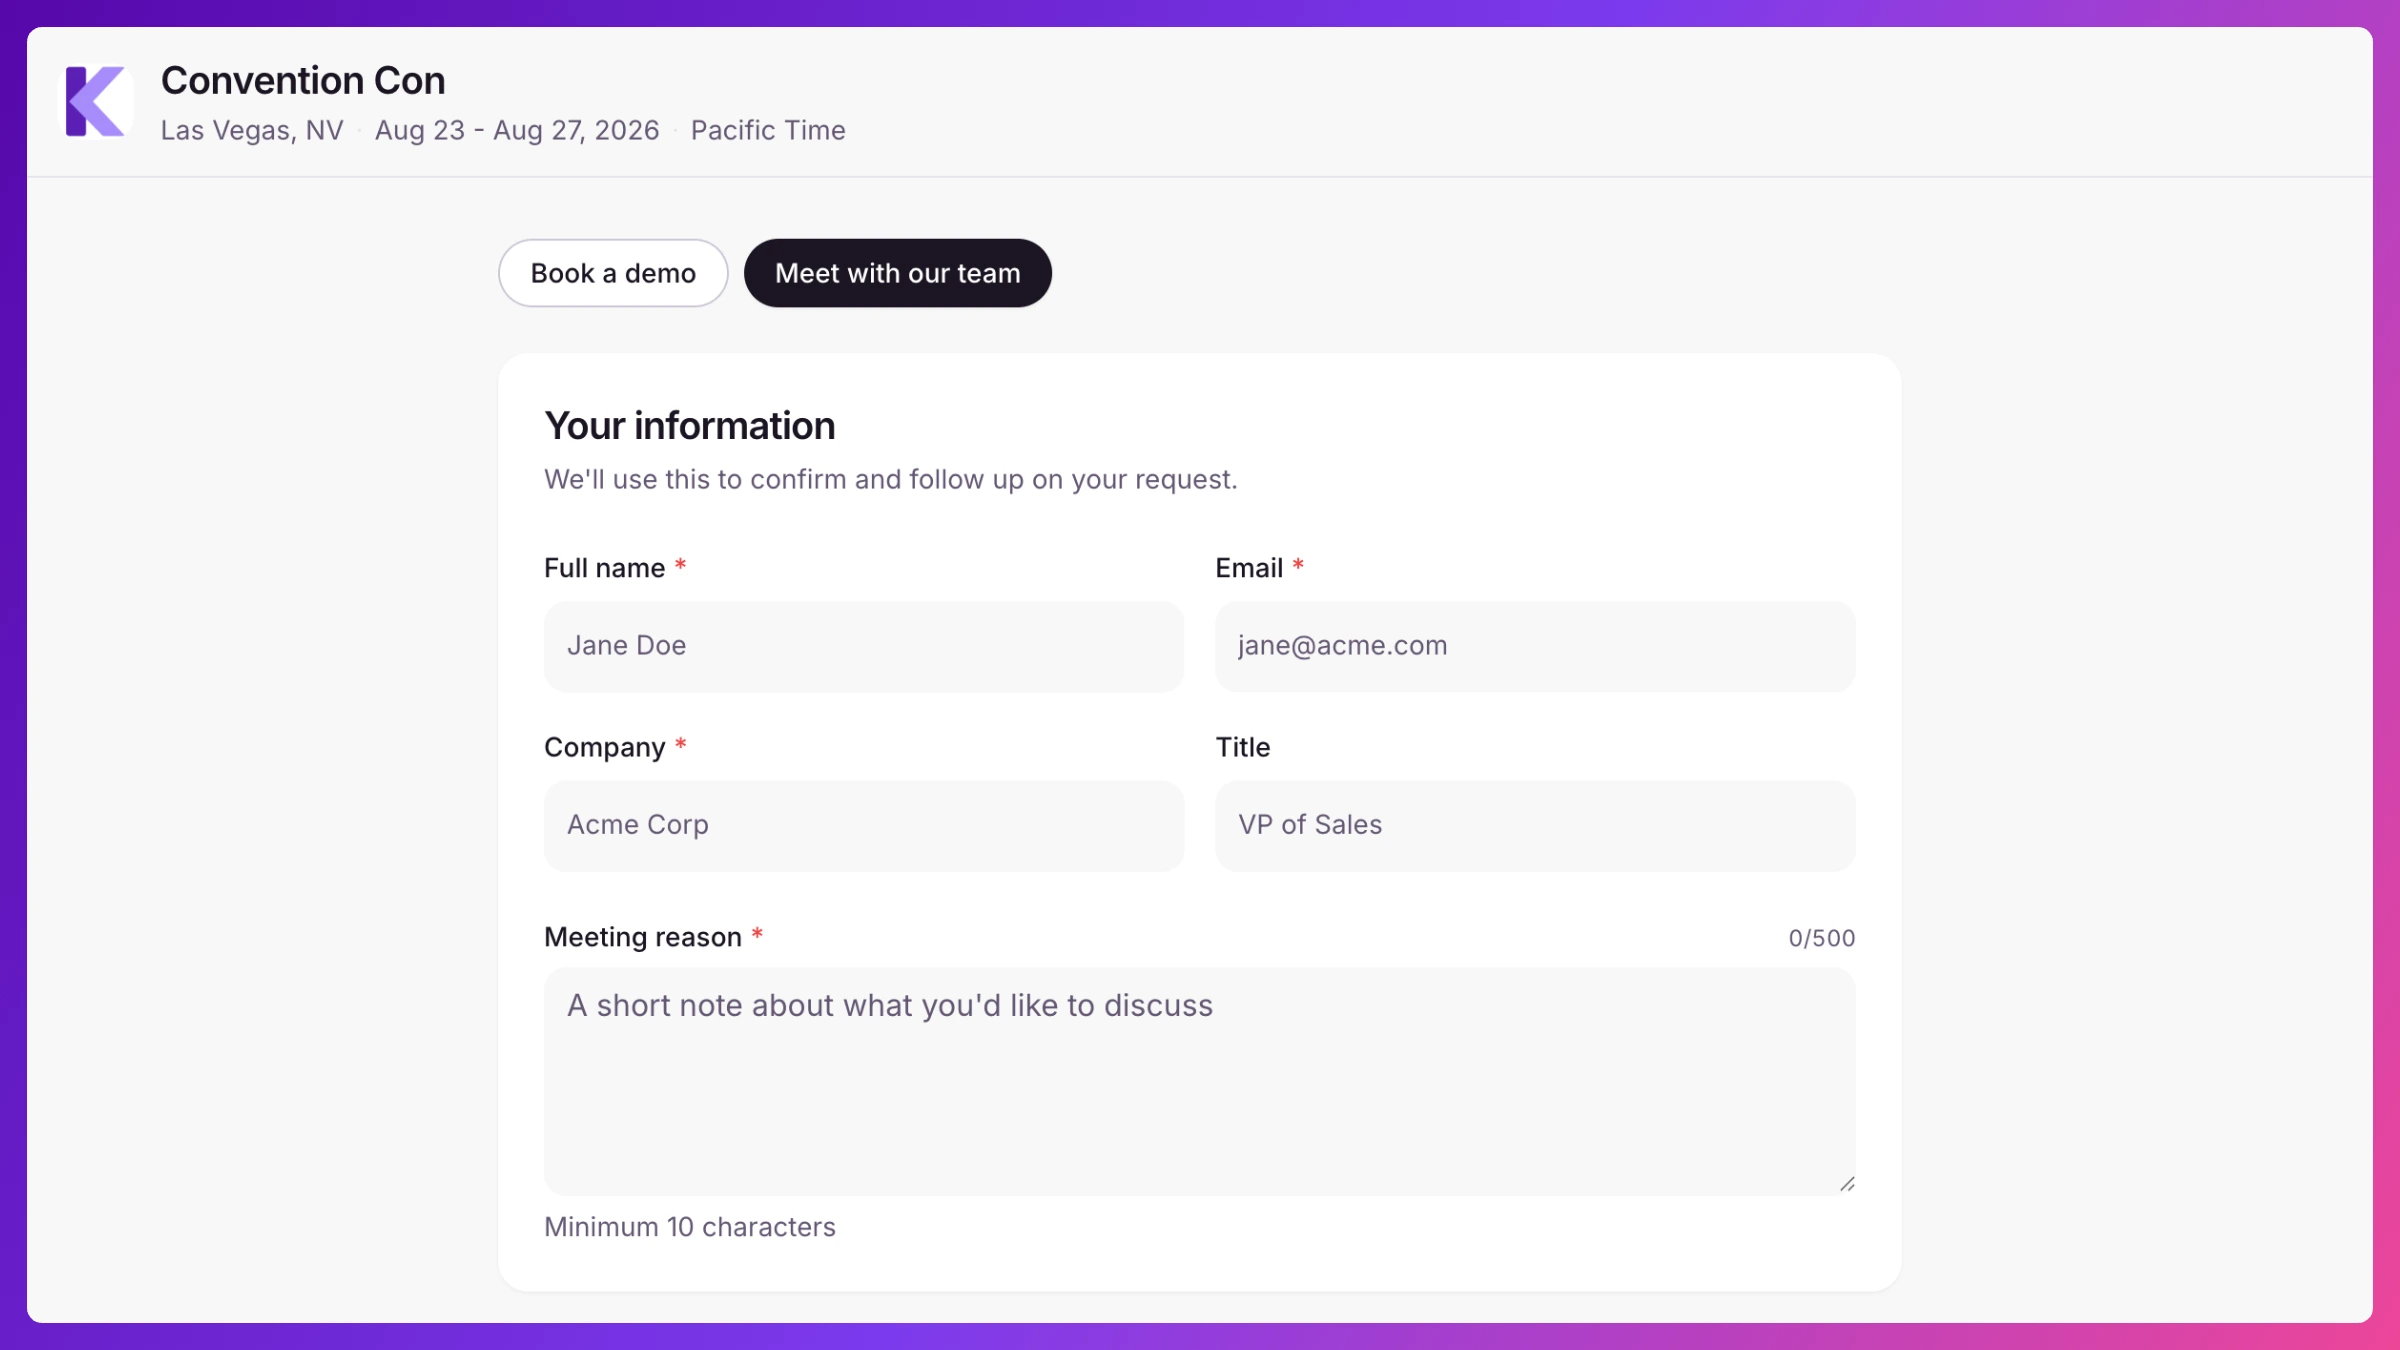
Offered slots come from the event’s operating hours and, on personal booking pages, the team member’s stated availability and real busy time, including meetings saved as a Hold, which are never offered to someone else. The full conflict check runs when a manager approves (see Conflict detection).
Book a demo (demo stations)
Section titled “Book a demo (demo stations)”Who it’s for: your customers and prospects, no login needed. Managers set it up.
If your booth runs scheduled demos (a screen, a rig, a product table), you can let visitors book a demo slot directly instead of asking for a meeting with a person. Setup is two switches:
- Mark a Space as a demo station. When adding or editing the event’s Spaces (or in the Spaces step of event setup), turn on Bookable demo station, give it a demo topic (what visitors see), an optional one-line description, and a slot length: 15, 30, 45, or 60 minutes.
- Turn on Demo stations in the event’s booking settings, next to the public-booking toggle. This adds a Book a demo mode to the public page.
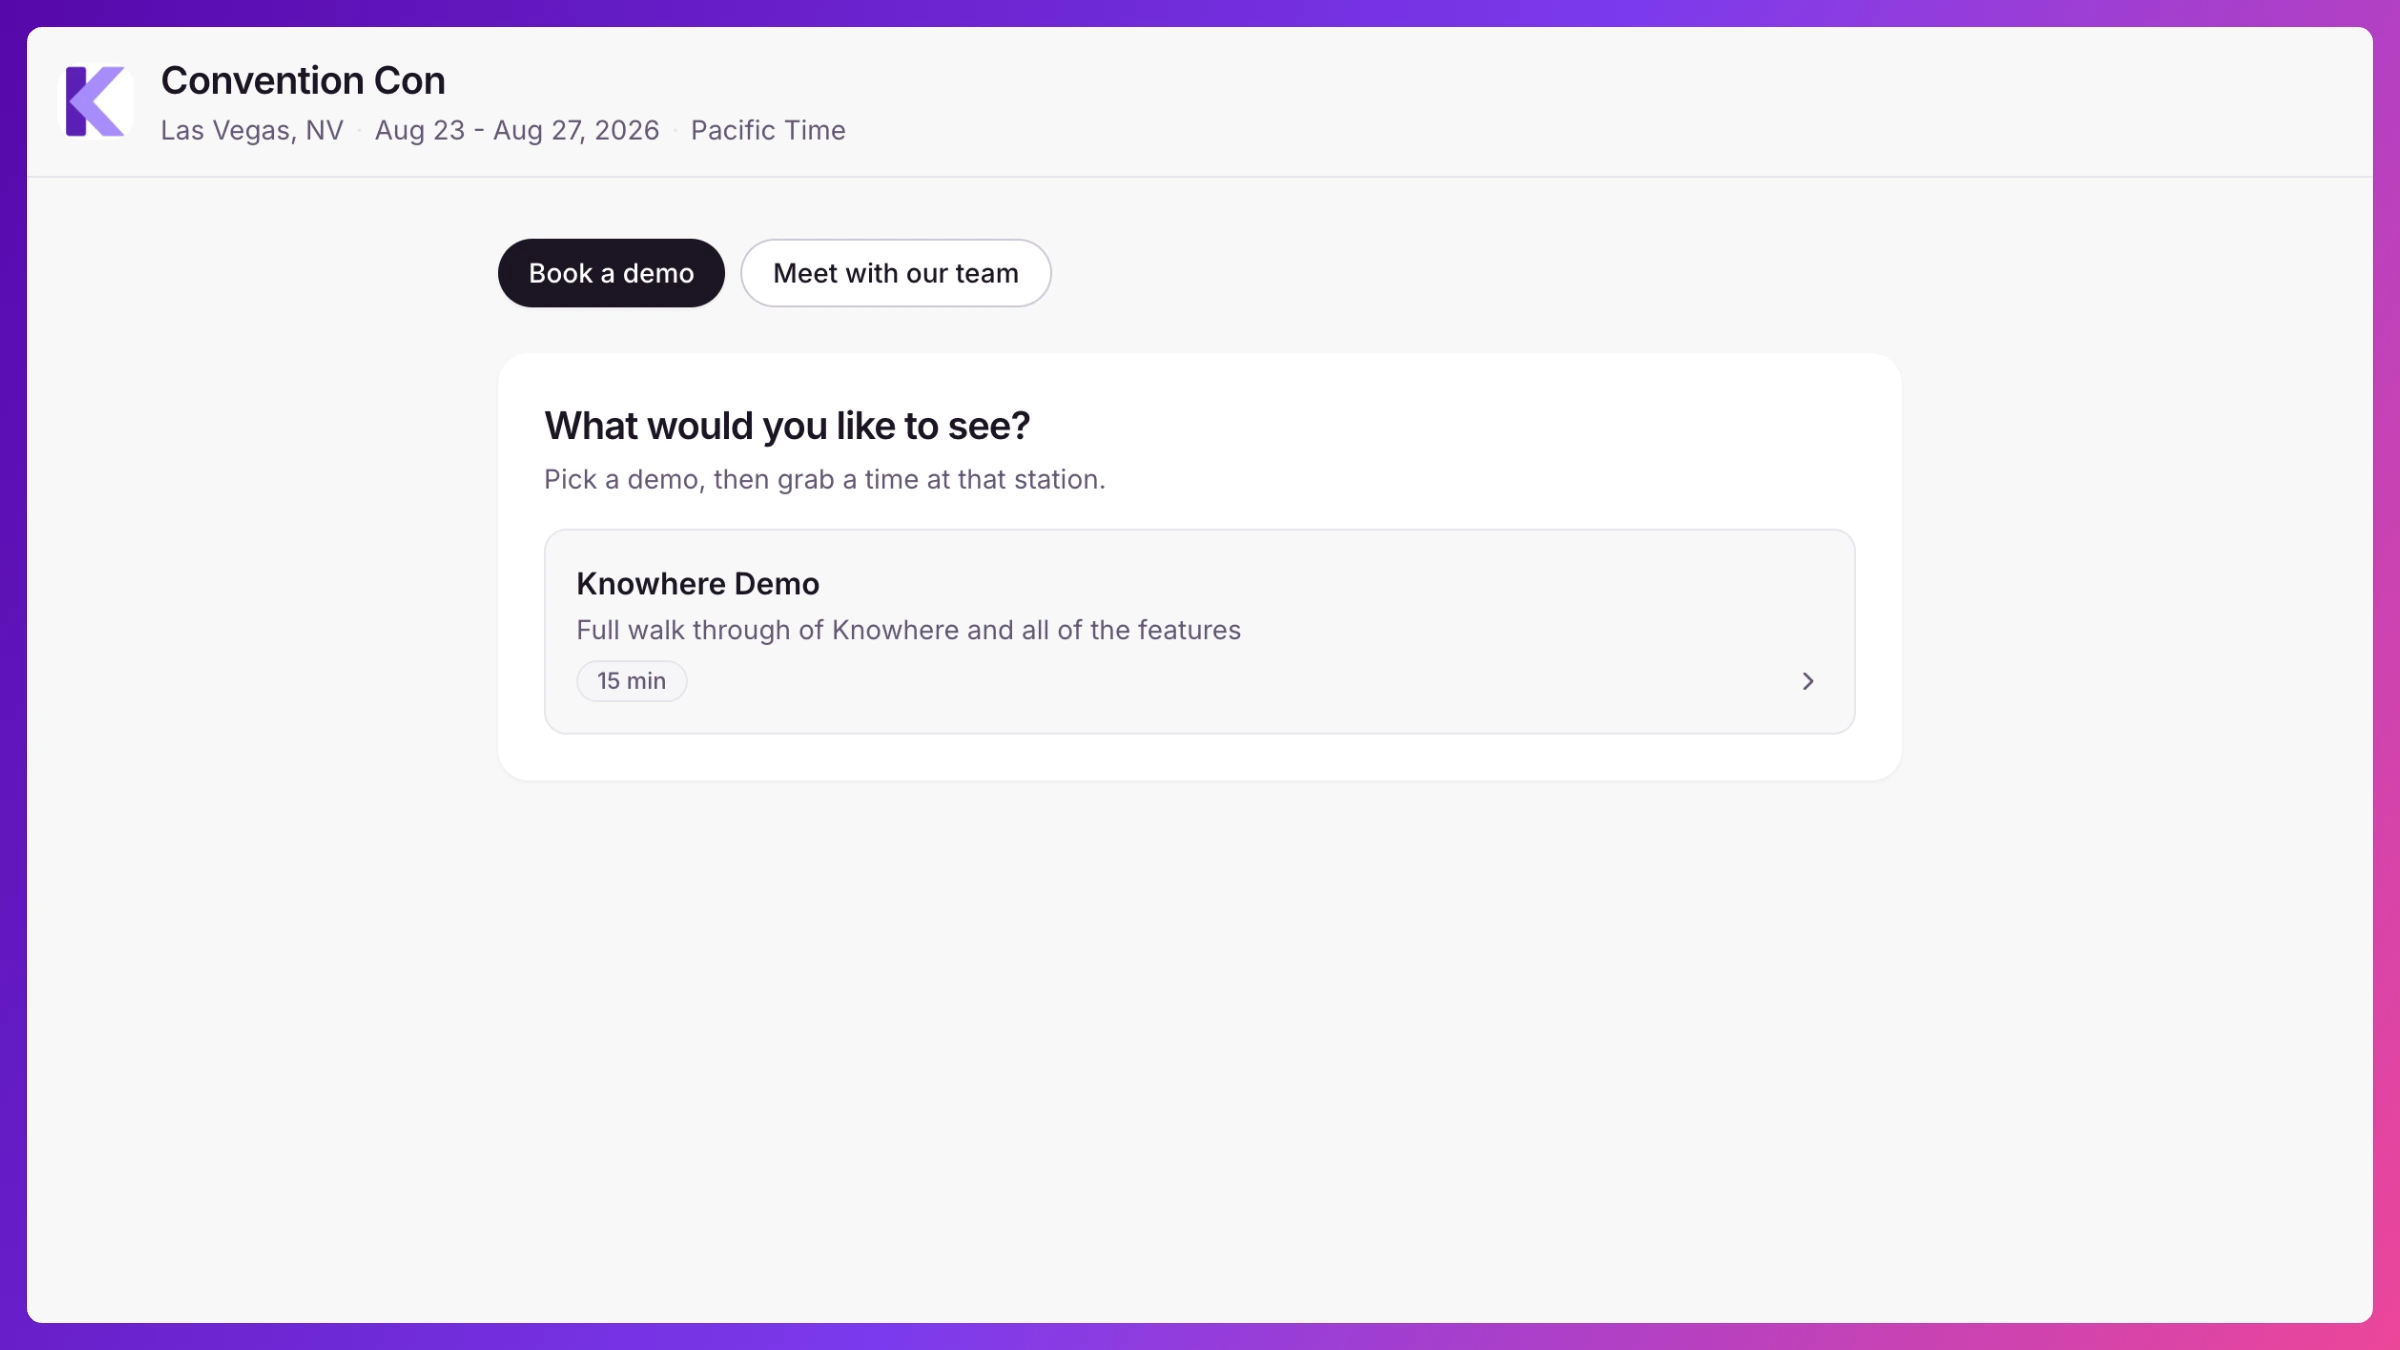
The booking page then opens with two choices, Book a demo or Meet with our team. In demo mode, visitors pick a demo from the station list (“What would you like to see?”), enter their contact details, and grab a time from that station’s slot grid. There’s no meeting-reason box. The chosen demo is the reason. Slots are the station’s fixed length, offered within the event’s operating hours, with already-booked times blocked out. If someone else grabs the slot mid-booking, the grid refreshes and asks them to pick another time.
Instant confirmation is your call. Turn on Auto-confirm demo bookings and a booked slot becomes a confirmed Demo meeting on the spot, no approval step. The visitor sees “You’re booked.” and gets a confirmation email with an add-to-calendar invite attached, and your managers get a heads-up email that a demo was booked. Set the company-wide default with Auto-confirm station bookings in Settings → Company → Event Defaults. Any event can override it in Configure. Leave auto-confirm off and demo bookings land in the request queue like any other request, labeled with the demo topic, for a manager to approve.
The request queue
Section titled “The request queue”Who it’s for: managers.
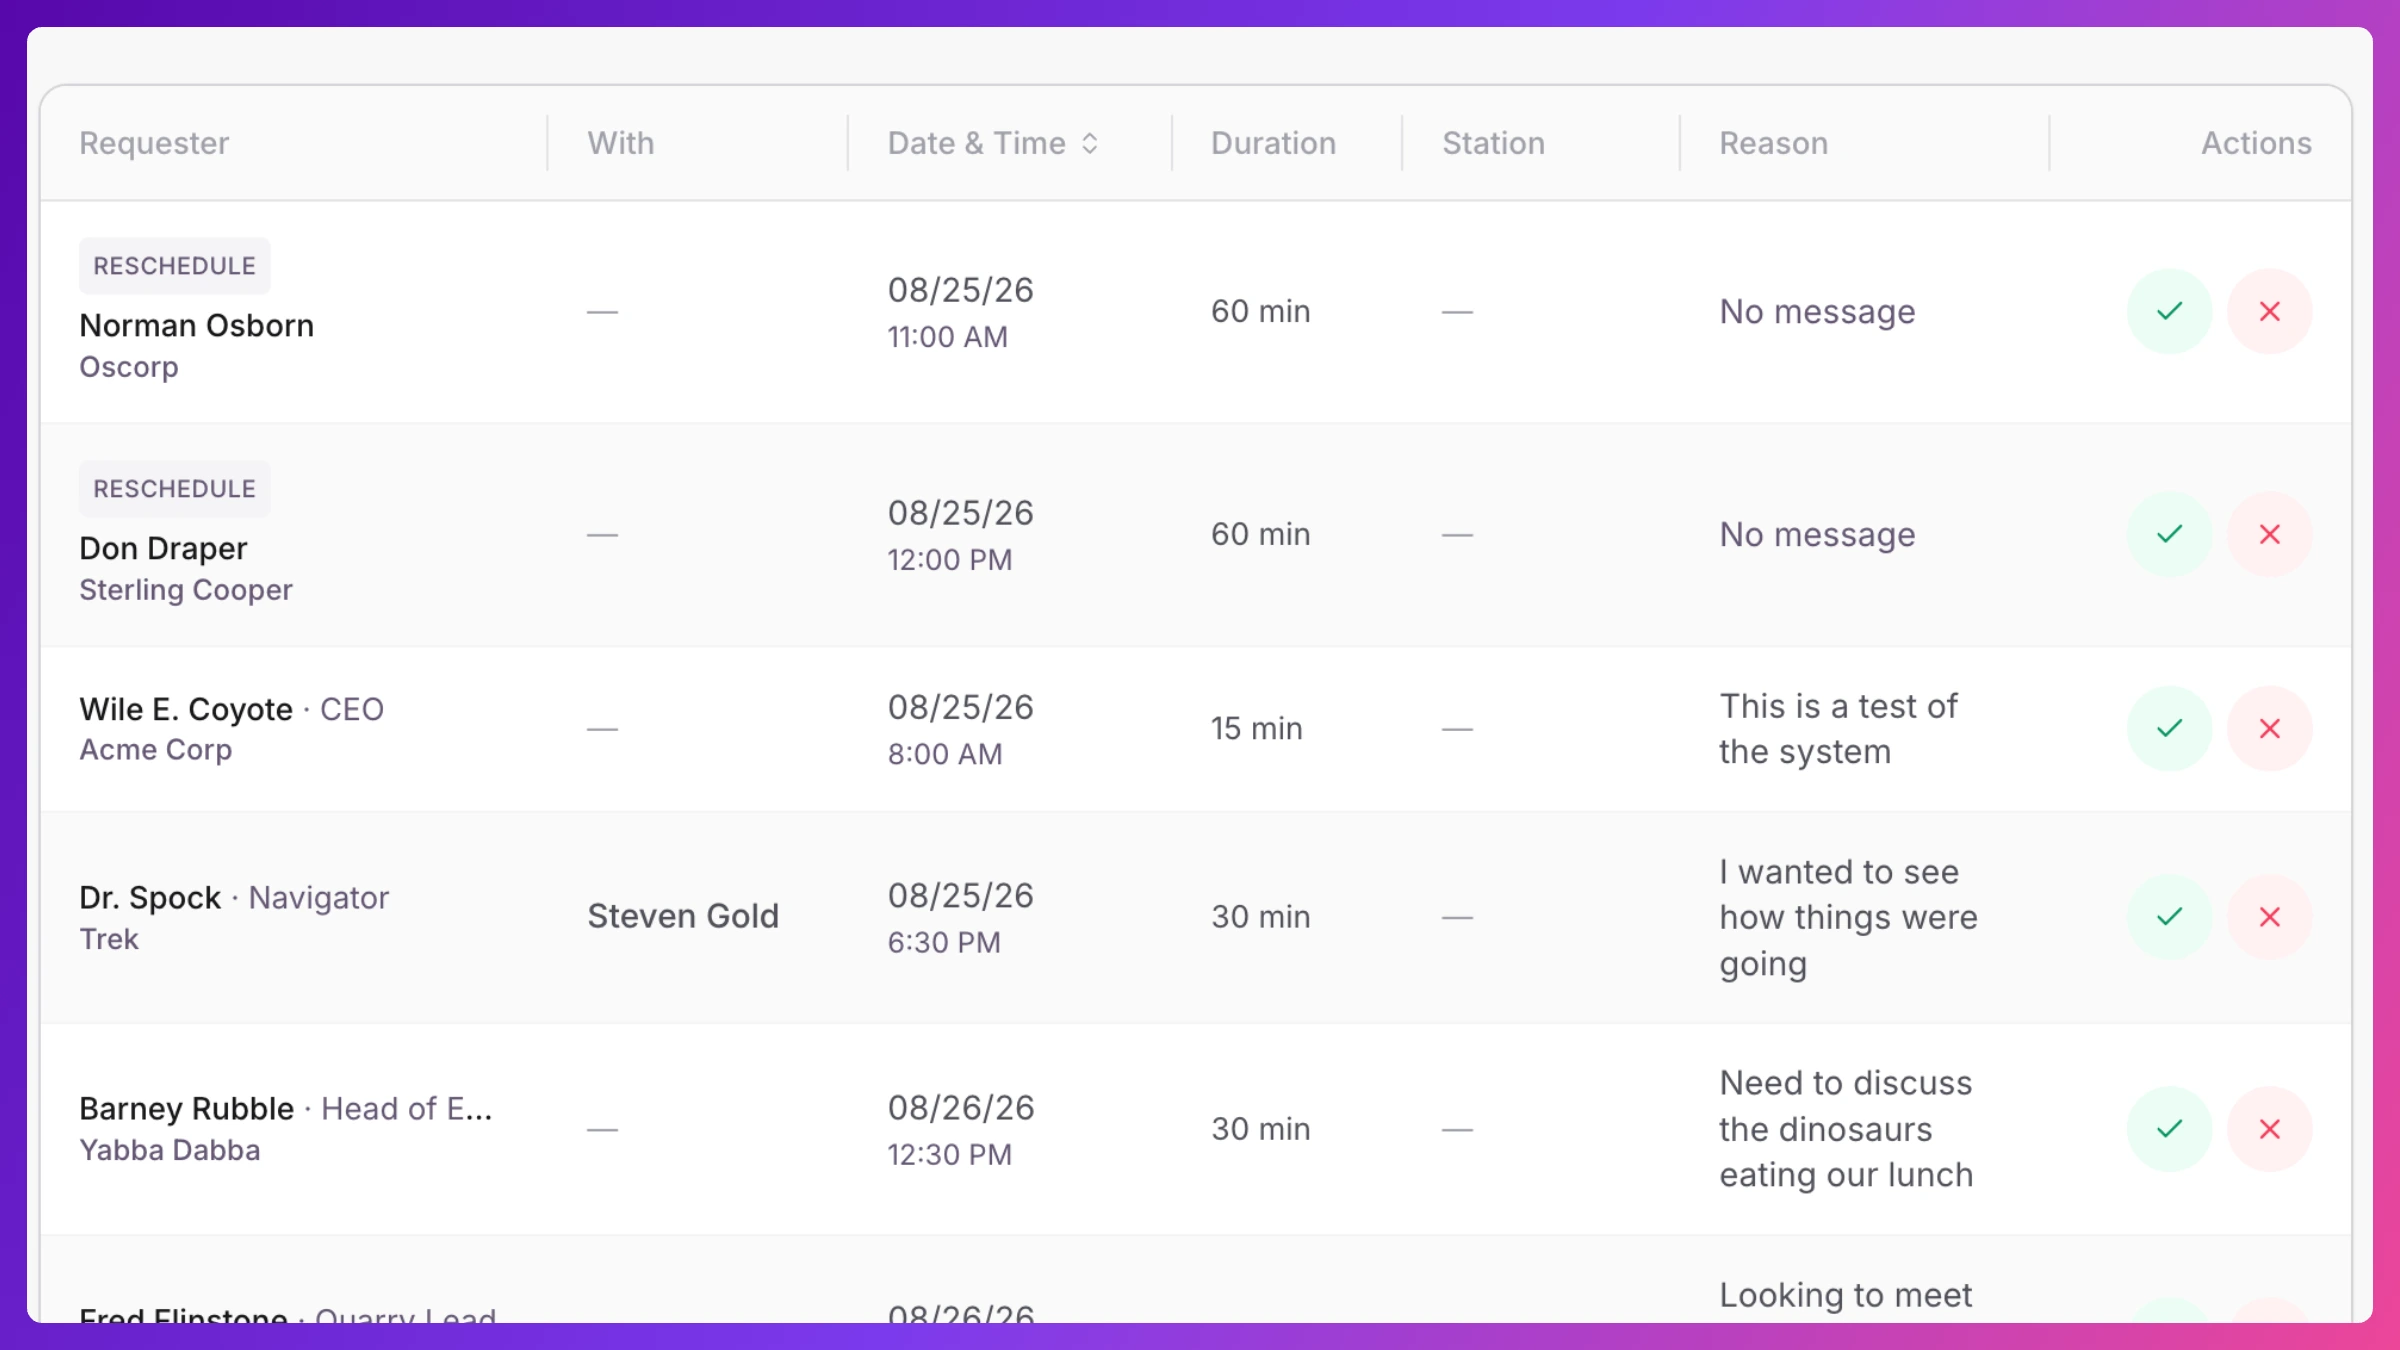
Every request, whether from the event page, a personal link, or the kiosk, lands in Requests, tabbed by pending, approved, and declined, with a badge in the sidebar when something’s waiting. Each request shows who’s asking, which team member they asked for, the requested time and any alternates, the duration, and their reason. Demo-station bookings that weren’t auto-confirmed appear here too, labeled with their demo topic.
- Approve & schedule: opens the meeting form pre-filled from the request. You pick or adjust the final time (with live conflict checking), save, and the meeting is on the schedule.
- Decline: with an optional note.
The requester is emailed when you approve or decline. The on-submission “request received” acknowledgement is its own per-event setting, off by default.
The wording is yours to write. The submission, approval, and decline emails (and the default reason shown on a decline) are editable text, not fixed copy. Set your company-wide defaults in Settings → Company → Email; override any of them for a single event in that event’s Settings under Booking & check-in → Emails, which explicitly labels itself as overriding the company default.
Reschedule requests
Section titled “Reschedule requests”When a guest asks for a different time from their invite’s RSVP page, the ask lands in the event’s request queue as a row tagged Reschedule. These behave differently from new bookings, because there’s already a real meeting attached:
- On the event’s Requests tab the action is Approve new time, and it moves the existing meeting rather than creating one. The guest is emailed that the meeting moved.
- If the proposed slot has since been taken, approving from that tab opens the meeting’s edit form pre-filled at the guest’s time with the conflict named, so you counter-offer instead of hitting a dead end.
- Only one reschedule request can be pending per meeting; a guest’s newer proposal replaces their older one. And if you simply edit the meeting’s time yourself, the pending request closes on its own: editing is your answer.
Where requests show up
Section titled “Where requests show up”- All Requests: the company-wide queue across every event.
- Per-event Requests: the same queue scoped to one event, next to a shortcut for setting up that event’s booking page.
- The live queue on Overview: during the event, new requests stream into the Live now card alongside kiosk walk-ups, each with a one-click Review action.
- Ask the Know It All: inbound requests are searchable like everything else.
How to
Section titled “How to”Step-by-step, with the exact clicks: